# Configuration
The configuration items listed below can be found in the novaemailsender.php configuration file. If you cannot find the file, make sure you publish the necessary package assets.
# Available Options
# Provider
The mail provider/driver with which the message will be sent with.
Default:
'provider' => config('mail.driver'),
# Queue Priority
The priority in which the emails sent will be added to the queue driver. In order to take advantage of this feature, you must specify queue priority in your worker like so:
php artisan queue:work --queue=high,low
Default:
'priority' => 'low',
# Message Sender
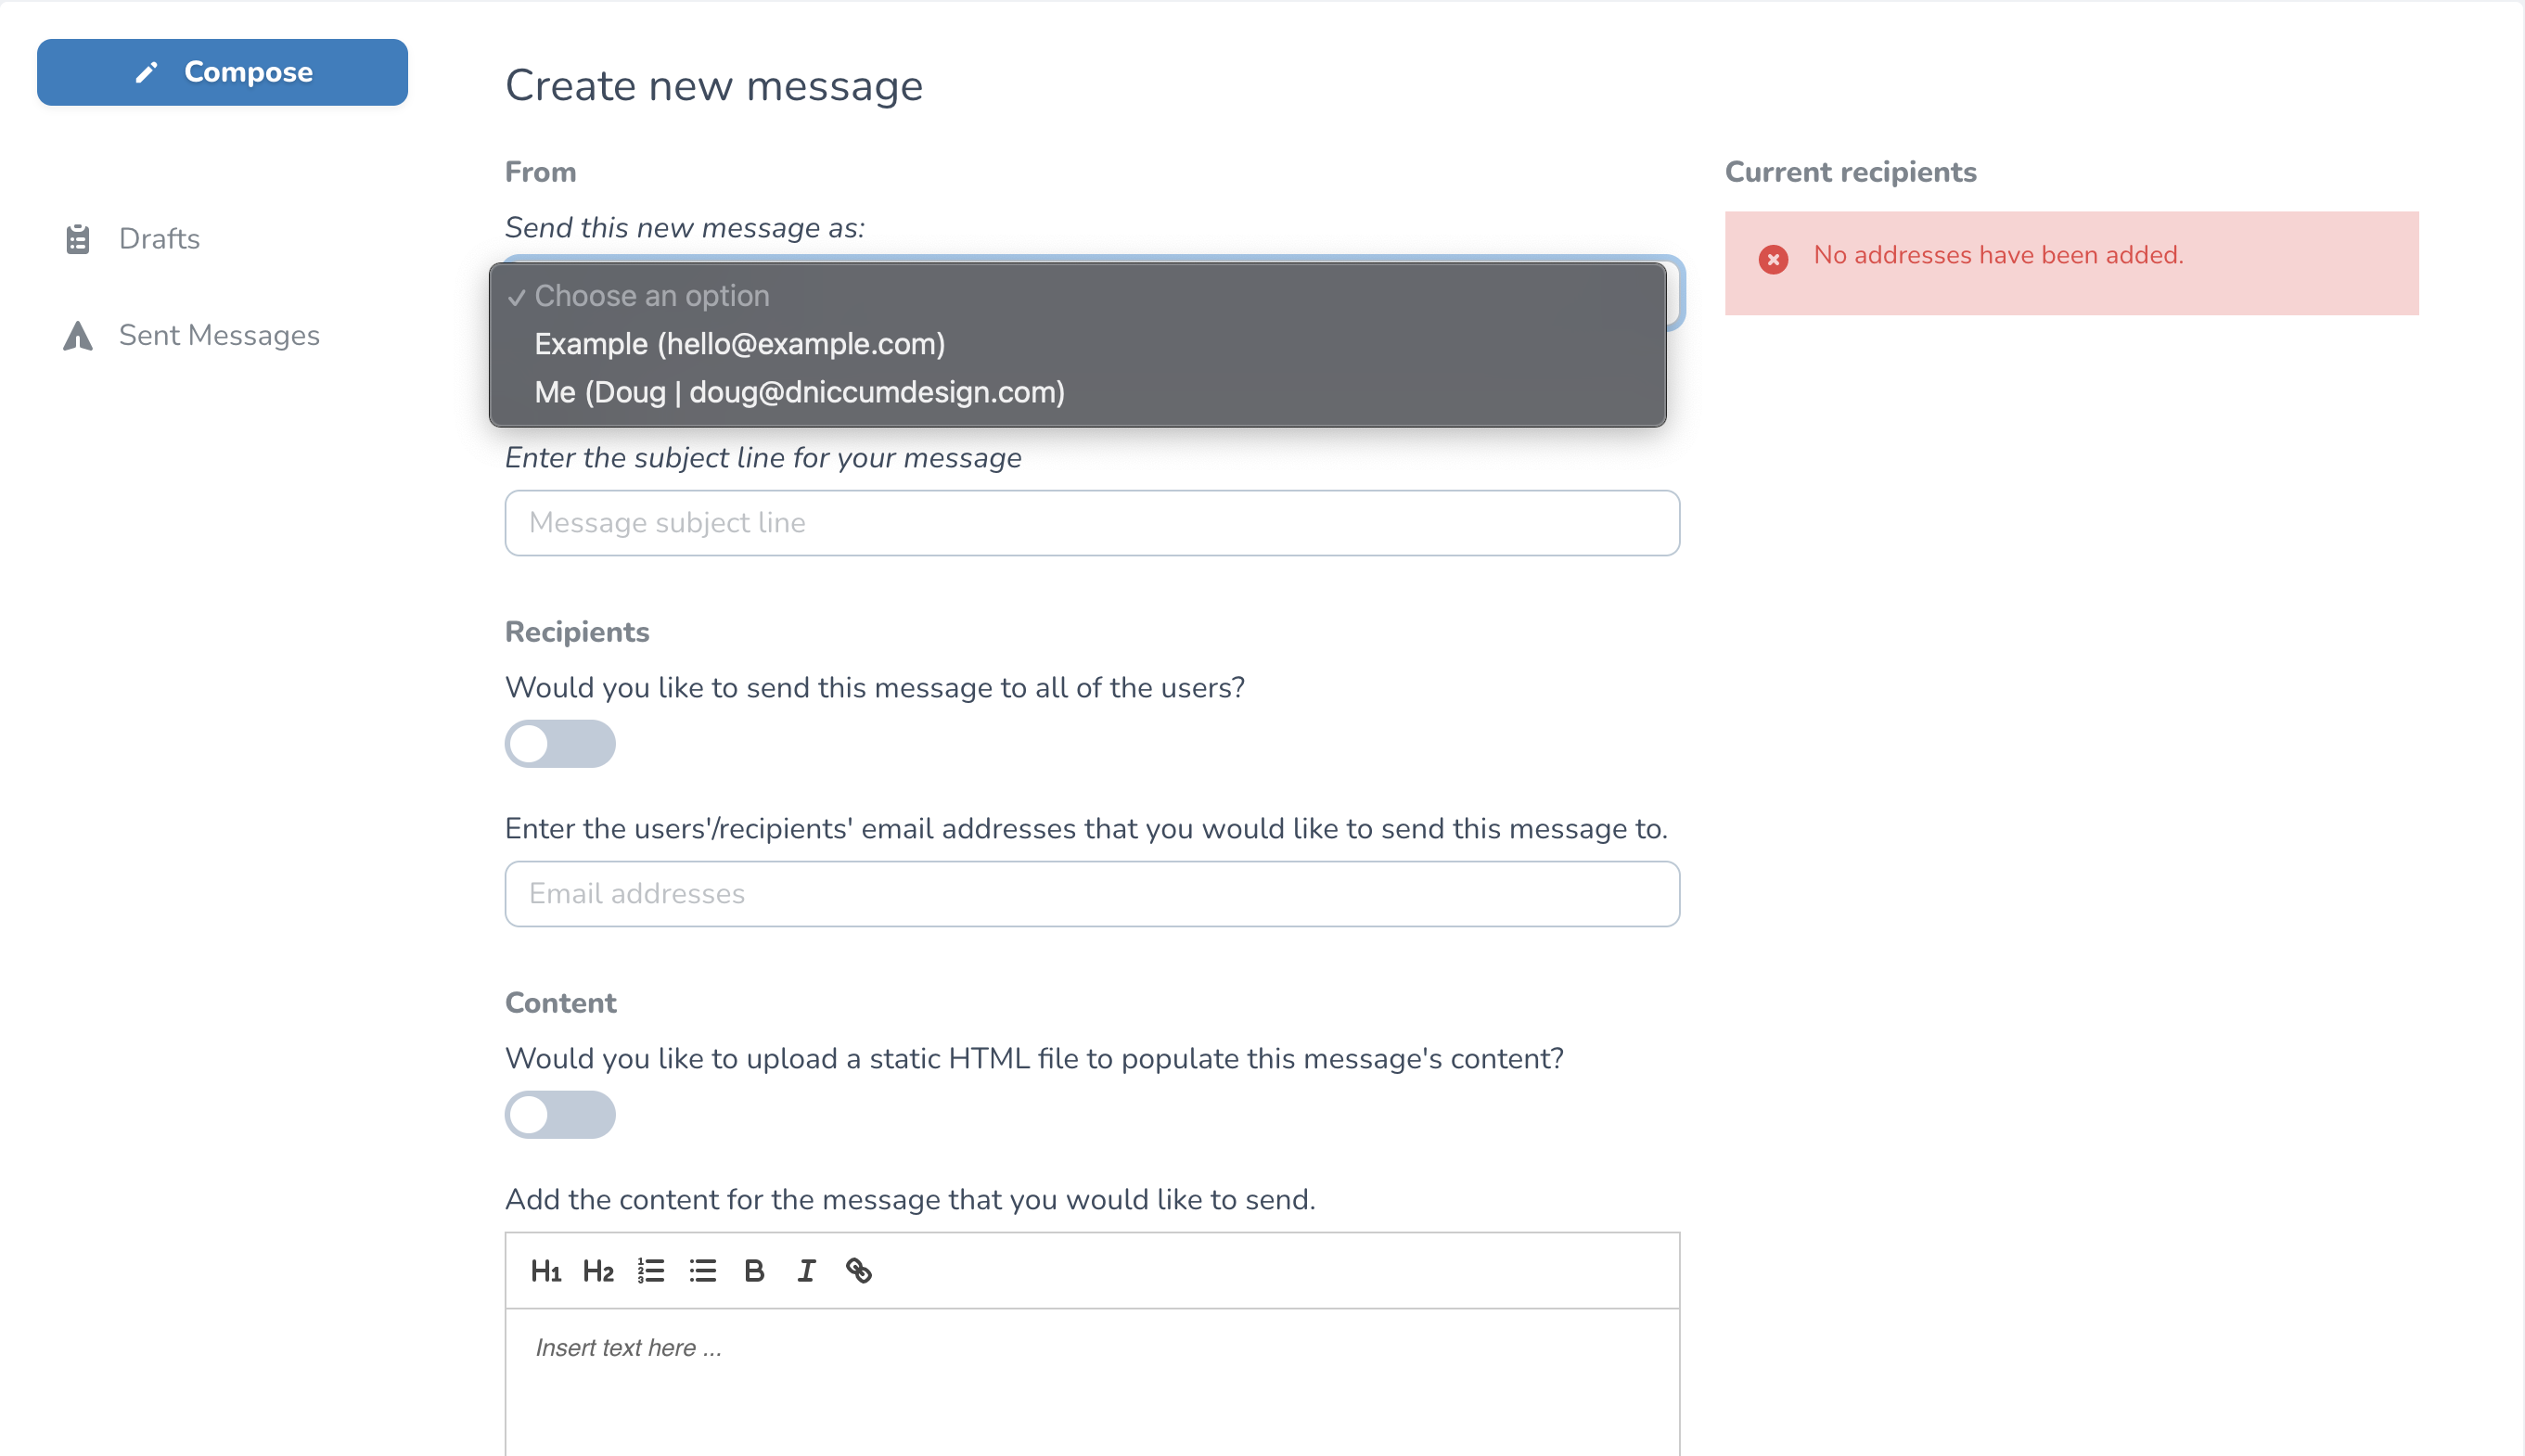
With this tool, by default, all of the emails that will be sent come addressed from the application's mail driver address; the value returned from the config('mail.from.address') variable. Furthermore, this tool will also append the authenticated user's name and address that can be selected to be the sender.

However, you do have the option, to add additional names and email address from which the messages will be sent. See below for an example of the from configuration options. You can define them via associative array using hard-coded strings, environment variables or configuration variables. Once complete, you may set the default with the 'default' property.
from' => [
    'default' => config('mail.from.address'),
    'options' => [
        [
            'address' => config('mail.from.address'),
            'name' => config('mail.from.name'),
        ]
    ],
],
# Notice about sending emails from non-application (personal) email addresses
It is worth noting that while you can send emails from additional email addresses, doesn't mean you should. If you continuously send emails from an email address that does not have MX records associated with your application's domain, you may begin to see your messages sent to your recipient's spam folders; or straight up blacklisted all together. This is commonly referred to as spoofing.
Proceed at your own risk. Here is a link to what this could mean for your users. (opens new window)
# Models and properties
When you go to identify recipients, whether you use the Send to All feature, or add recipients using the search field, the tool needs to know what models to look at.
# Model
By default the User model is added, however feel free to add any other models that you wish.
'model' => [

    'classes' => [
        \App\Models\User::class,
    ],
    ...
],
# Property mapping
The other options within the model configuration property are related to Model property mapping. For example, if you are using a column to store a user's email address in a column named other than the default email, update the 'email' property accordingly. The same can be said for the 'first_name' and 'last_name' values.
If you store the user's full name and not separately, simply set the 'first_name' and 'last_name' values to null.
'model' => [
    ...
    'email' => 'email',
    'name' => null,
    'first_name' => 'first_name',
    'last_name' => 'last_name',
],
# Email Template
The Blade template used to send the email and if the mailable should parse it as markdown. By default this template utilizes the existing notification layout template. So any modifications that you have made to this layout template (like the header, colors, etc) will be inherited by the view supplied by this package.
IMPORTANT: If you decide to supply your own custom Blade template, make sure that it includes a {!! $content !!} tag as this is what is used to parse the WYSIWYG's content.
Default:
 'template' => [
    'markdown' => true,
    'view' => 'vendor.custom-email-sender.email'
],
# Quill Editor
The basic buttons that come enabled out of the box. These were chosen to eliminate the potential intrusion of the email layout. Other options are available and documented on the Quill website: https://quilljs.com/docs (opens new window)
Default:
'editor' => [
    'toolbar' => [
        [ 'header' => 1 ],
        [ 'header' => 2 ],
        [ 'list' => 'ordered' ],
        [ 'list' => 'bullet' ],
        'bold',
        'italic',
        'link',
    ]
],
# Validation
Any other specific validation settings that cannot be handled by the form.
'validation' => [
    'max-characters' => 250000,
],
